If Your Roof
A Stain That Moves Between Storms
Water travels along deck flutes or insulation joints and drips wherever it finds a gap.
Start WithLeak Tracing Upslope

As a Radcliff commercial roof leak repair contractor, we trace each leak from the ceiling stain to the seam, curb, drain, or fastener where water enters, then repair it.

A Radcliff commercial roof leak repair contractor sorts each leak into one of these patterns, because where the water shows up says a lot about its path.
Water travels along deck flutes or insulation joints and drips wherever it finds a gap.
Rain pushed sideways gets behind wall flashing, coping caps, or ridge caps.
Curb corners, pitch pans, and pipe boots split as equipment vibrates and temperatures swing.
Readings show wet insulation under large parts of the roof, far past any single entry point.
Leaks show up inside first. These are the signs behind most calls, and how soon each one needs attention.
Active water over inventory, production lines, or electronics needs buckets, tarps, and a call while it is still raining.
Power to that area gets shut off by someone qualified before anyone touches the fixture or the wet ceiling.
Water entered somewhere upslope and ran along the deck before it dripped, so the source is found by tracing uphill.
Cracked curb corners and shrunken pitch pan filler let water in right where equipment sits on the roof.
Gaps under the clamping ring or a sagging sump around the drain bowl leak quickly, since water collects there.
Wet insulation along the water path holds water and keeps feeding the leak long after the storm ends.
Most leaks come from a short list of roof details, each with its own repair.
| Leak Source | Common Failure | Repair |
|---|---|---|
| RTU curb | Cracked corners, flashing pulled off the curb | Reflash with new membrane and corner pieces |
| Pitch pan | Shrunken or cracked filler | Clean, refill with pourable sealer, and mound it |
| Pipe boot | Split boot or loose clamp | New pre-molded boot and clamp |
| Roof drain | Gap under the clamping ring, missing strainer | Reset membrane under the ring, replace bolts and strainer |
| Scupper | Open joints at the wall | Reseal the scupper box and strip it in with membrane |
| Wall flashing and coping | Lifted coping, split flashing | Refasten coping and rebuild the flashing |
Tracing the leak before repairing it puts the fix on the real entry point, so the drip stops and the dry roof stays in place.
A patch set right above the ceiling stain misses an entry point farther upslope.
Tracing the water path back along flutes and purlins finds the real opening, so one repair stops the drip.
Board between the hole and the drip holds water for days.
Moisture readings map the wet area, and only those boards are replaced before the membrane is closed up.
Filler shrinks away from the pipe and opens a ring for water.
The pan is cleaned, refilled with pourable sealer, and mounded to shed water, then added to the inspection list.
Nobody can tell whether a drip is new or one that came back.
Photos inside and on the roof, with dates and weather, build a record that shows patterns before they spread.
Call us with the drip location and wind direction. Shut off power to any wet light fixture first.
Call UsSend photos of the stain and the roof type so the roof walk starts upslope of the right spot.
Get A Free EstimateLeak tracing follows the same five steps, inside to outside, on every building.
We mark the interior drip points, photograph them, and note the rain and wind when each leak appeared before anyone goes up to the roof.
Columns, rooftop units, and skylights help match each drip point to the same spot on the roof, so the search starts in the right bay.
Seams, curbs, drains, and fasteners uphill of that spot get checked one by one, since water runs along the deck before it drips.
Suspect seams get a probe, and a controlled water test on one detail at a time confirms the entry point before the repair is chosen.
The entry point is repaired with matching materials, readings confirm how far the water spread, and the next rain becomes the final check.
Once the entry point is found, the repair belongs to one of these lines of work.
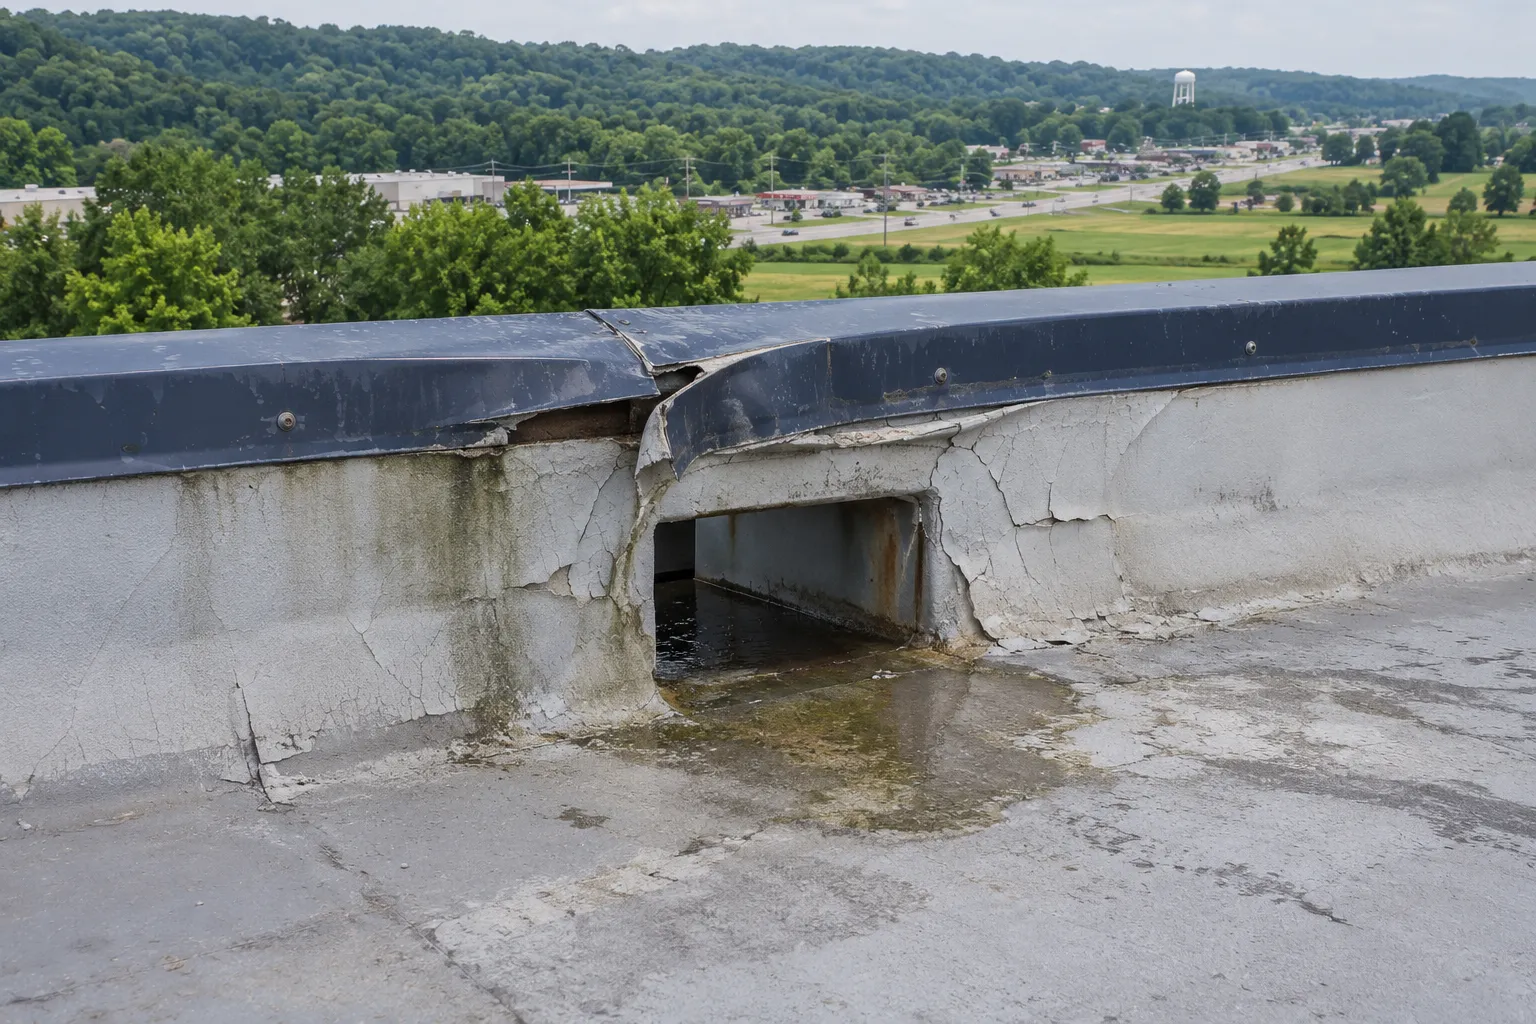
Membrane seams, blisters, and punctures found during a trace get matched patches and welds.
Flat roof repair →
Screw rows and end laps found leaking on a metal building get new fasteners, tape, and stitch screws.
Commercial metal roof repair →
Leaks over production lines get repairs scheduled around shifts and protected work zones.
Industrial roof repair →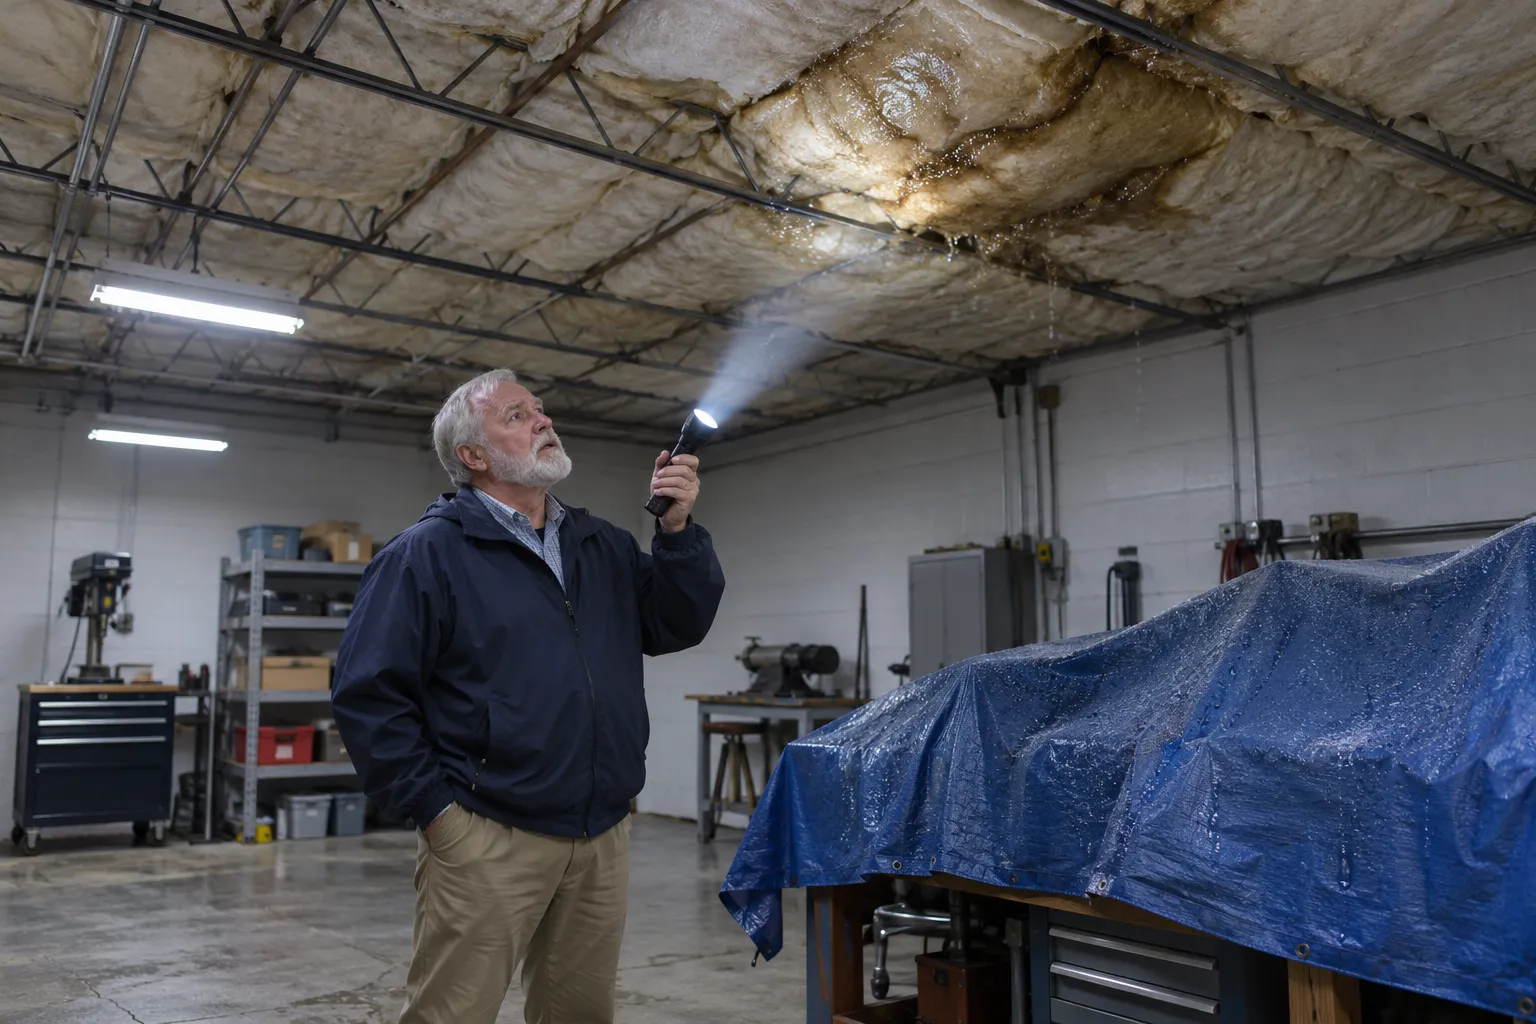
Question about your own roof?
Call UsStart at the interior stain, match it to the same spot on the roof using columns, rooftop units, or skylights, then check every seam, flashing detail, and penetration uphill of it. Suspect seams get probed and suspect areas get a controlled water test, and moisture readings show how far water spread.
Leaks that appear only in wind-driven rain often trace back to wall flashing, coping, or ridge caps.
Water that gets through the membrane travels before it drips. It runs along steel deck flutes to a low point, across insulation boards to a joint, down a purlin to a column line, or through a light fixture or conduit opening.
Wet insulation on that path keeps dripping for days after the rain, so the path gets traced back uphill to the real entry point.
Flashing around these openings cracks, pulls loose, or was installed too short for the roof height, and the openings move with equipment vibration and temperature swings. RTU curbs get reflashed with new membrane and corner pieces, pitch pans get cleaned and refilled with pourable sealer, and split pipe boots get a new pre-molded boot and clamp.
Bare conduit through the membrane moves to a pipe support.
The membrane is reset under a cleaned and retightened clamping ring, missing bolts and crushed strainers are replaced, and sagging sumps around the drain bowl are rebuilt. Scupper boxes are resealed to the wall and stripped in with membrane, and conductor heads and downspouts are cleared.
Work that reaches the drain body or interior piping falls under plumbing review with the inspector on the county contact sheet.
Protect people and stock first: move inventory and electronics away from the drip, set buckets or tarps, and mark the spot on the floor. Photograph the stain and note the time, rain, and wind direction.
Keep everyone off the roof during storms and lightning, and have someone qualified shut off power before anyone touches a wet light fixture or panel.
Send photos of the stain and the roof type, or call while it is raining so the drip points can be marked.
Leave a name and number and we will call you back.
Prefer to talk now? Call (930) 201-5321